1.6: The Photography release
Today's 1.6.0 release has a couple of big photography-related features: Quick Select and Photo Adjust.
Quick select
When you switch into the Quick Select tool, the image is segmented into tiles of around 16px in size where the edges follow the contours of the image. You won't see these tiles (or superpixels as they're also called), but you can if you really want to by turning on View > Debug > Superpixels. It looks something like this:
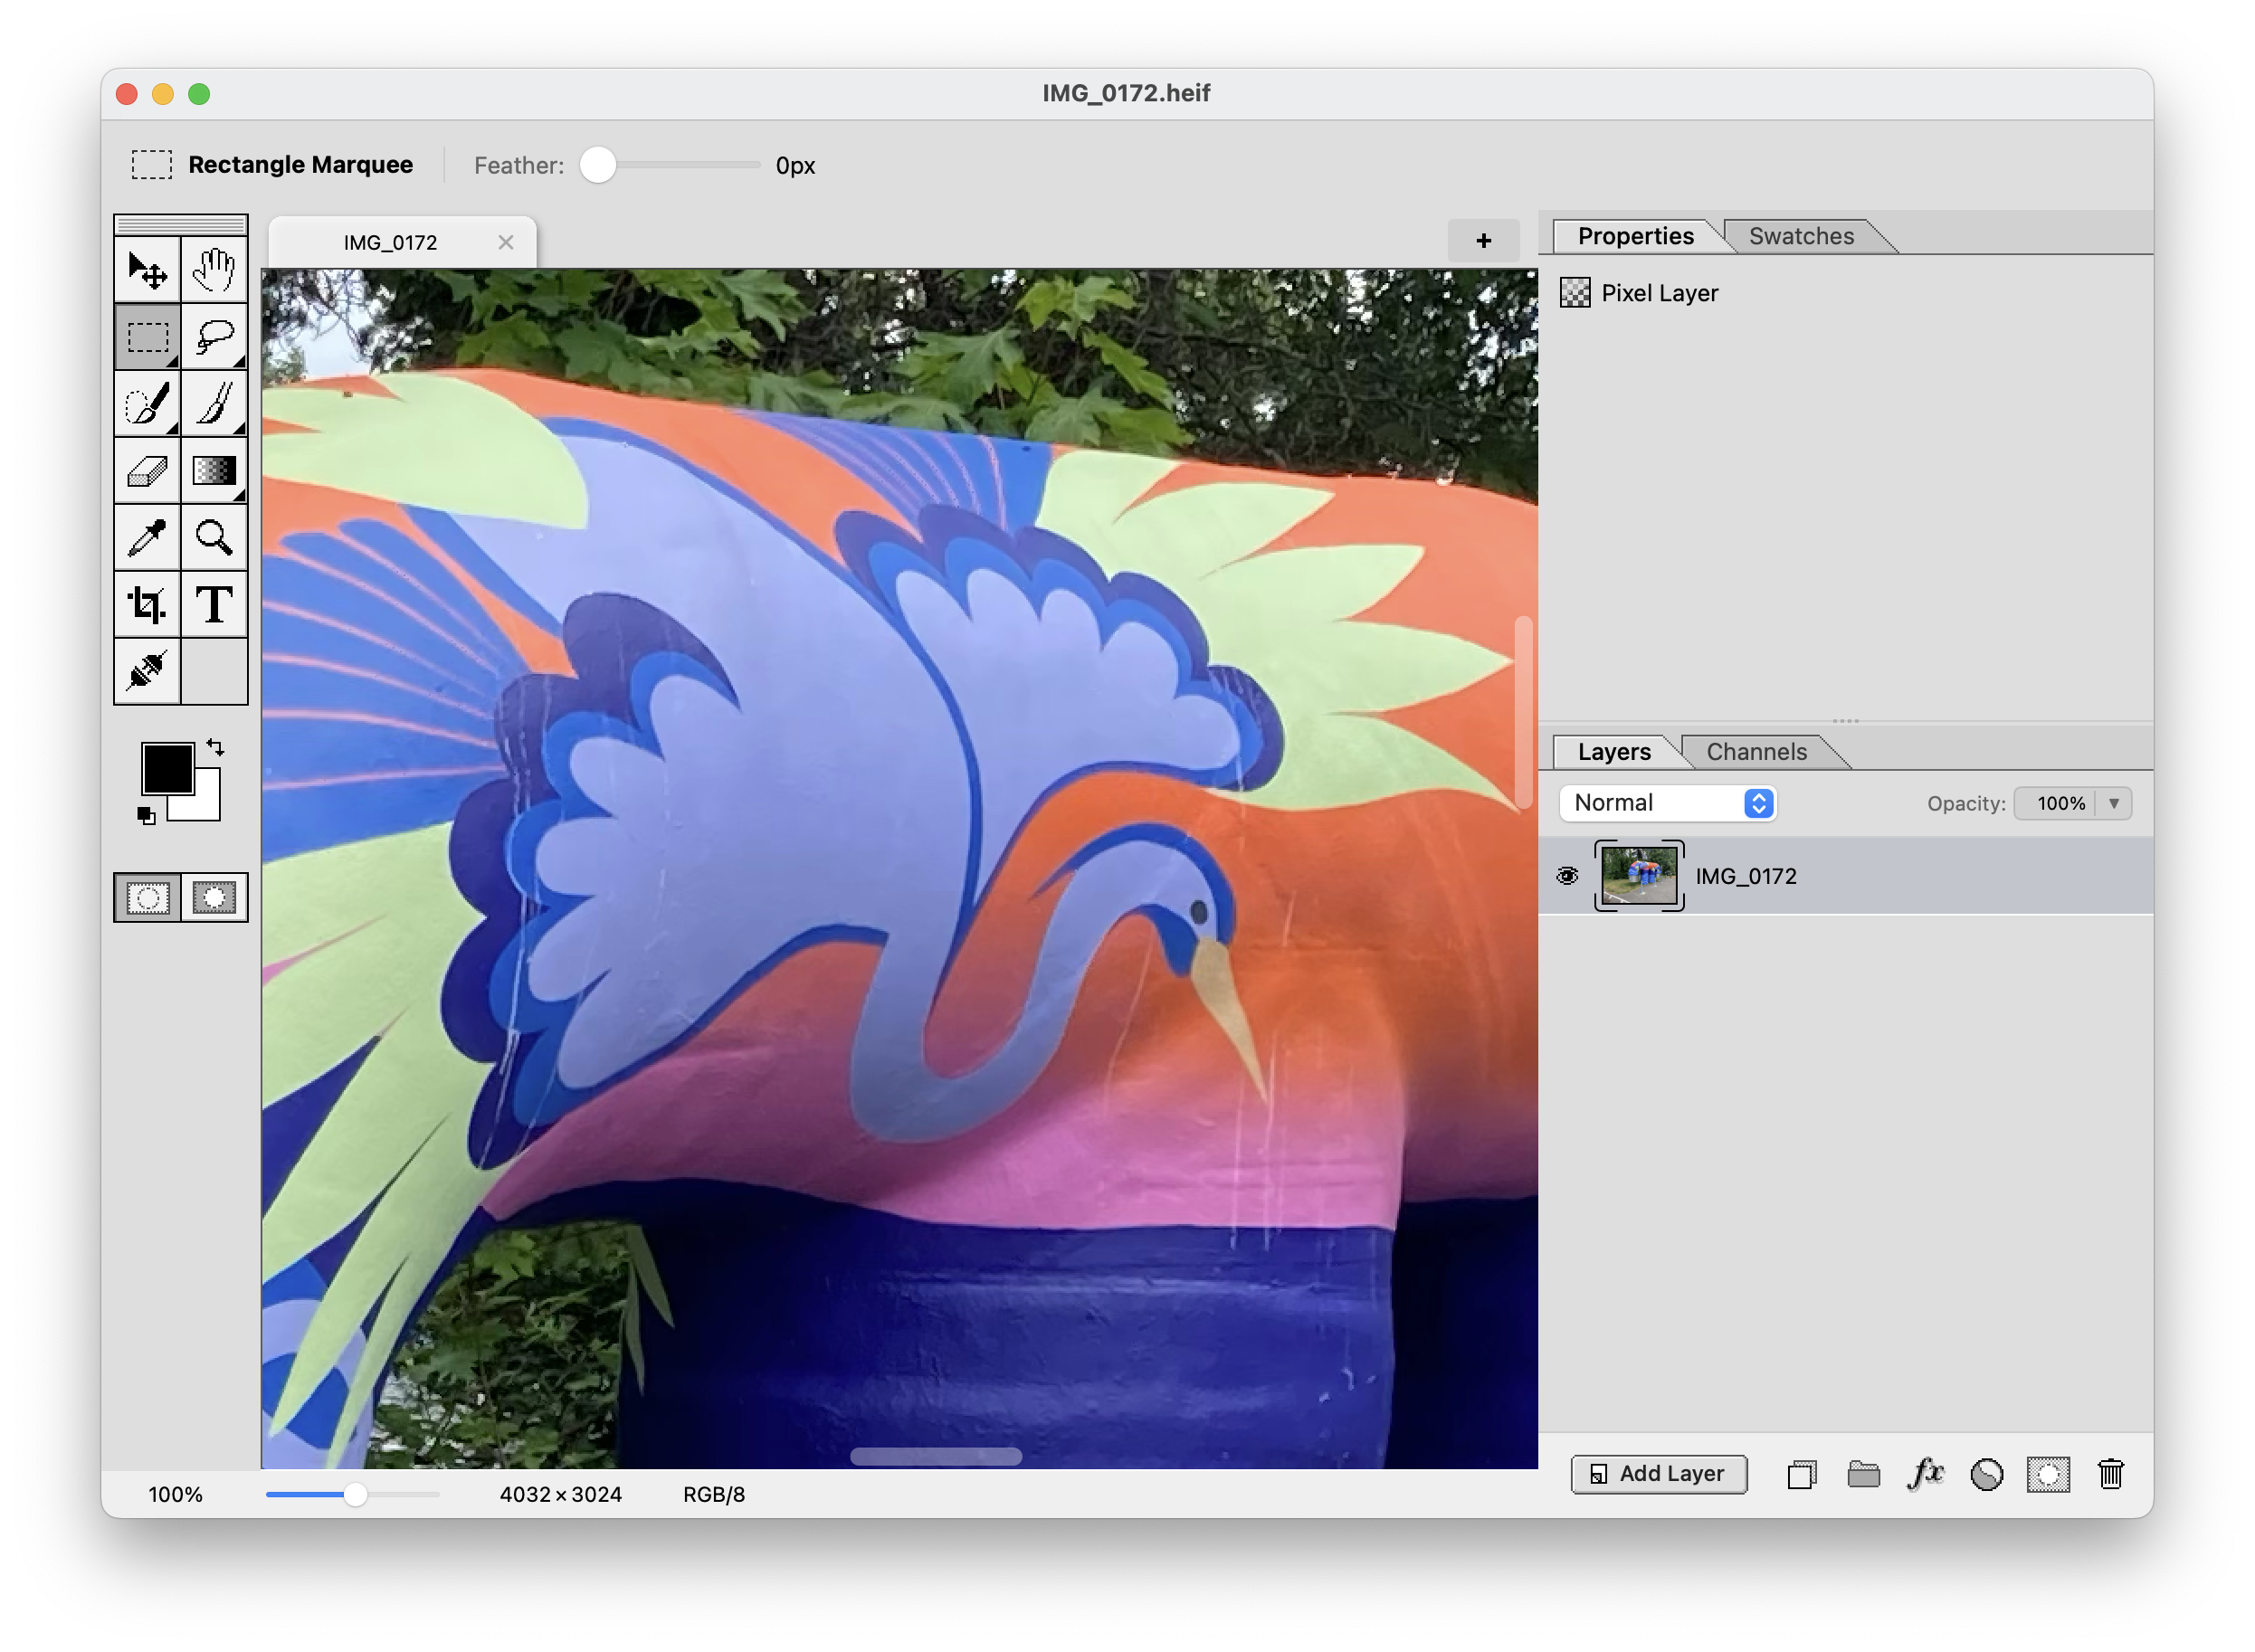
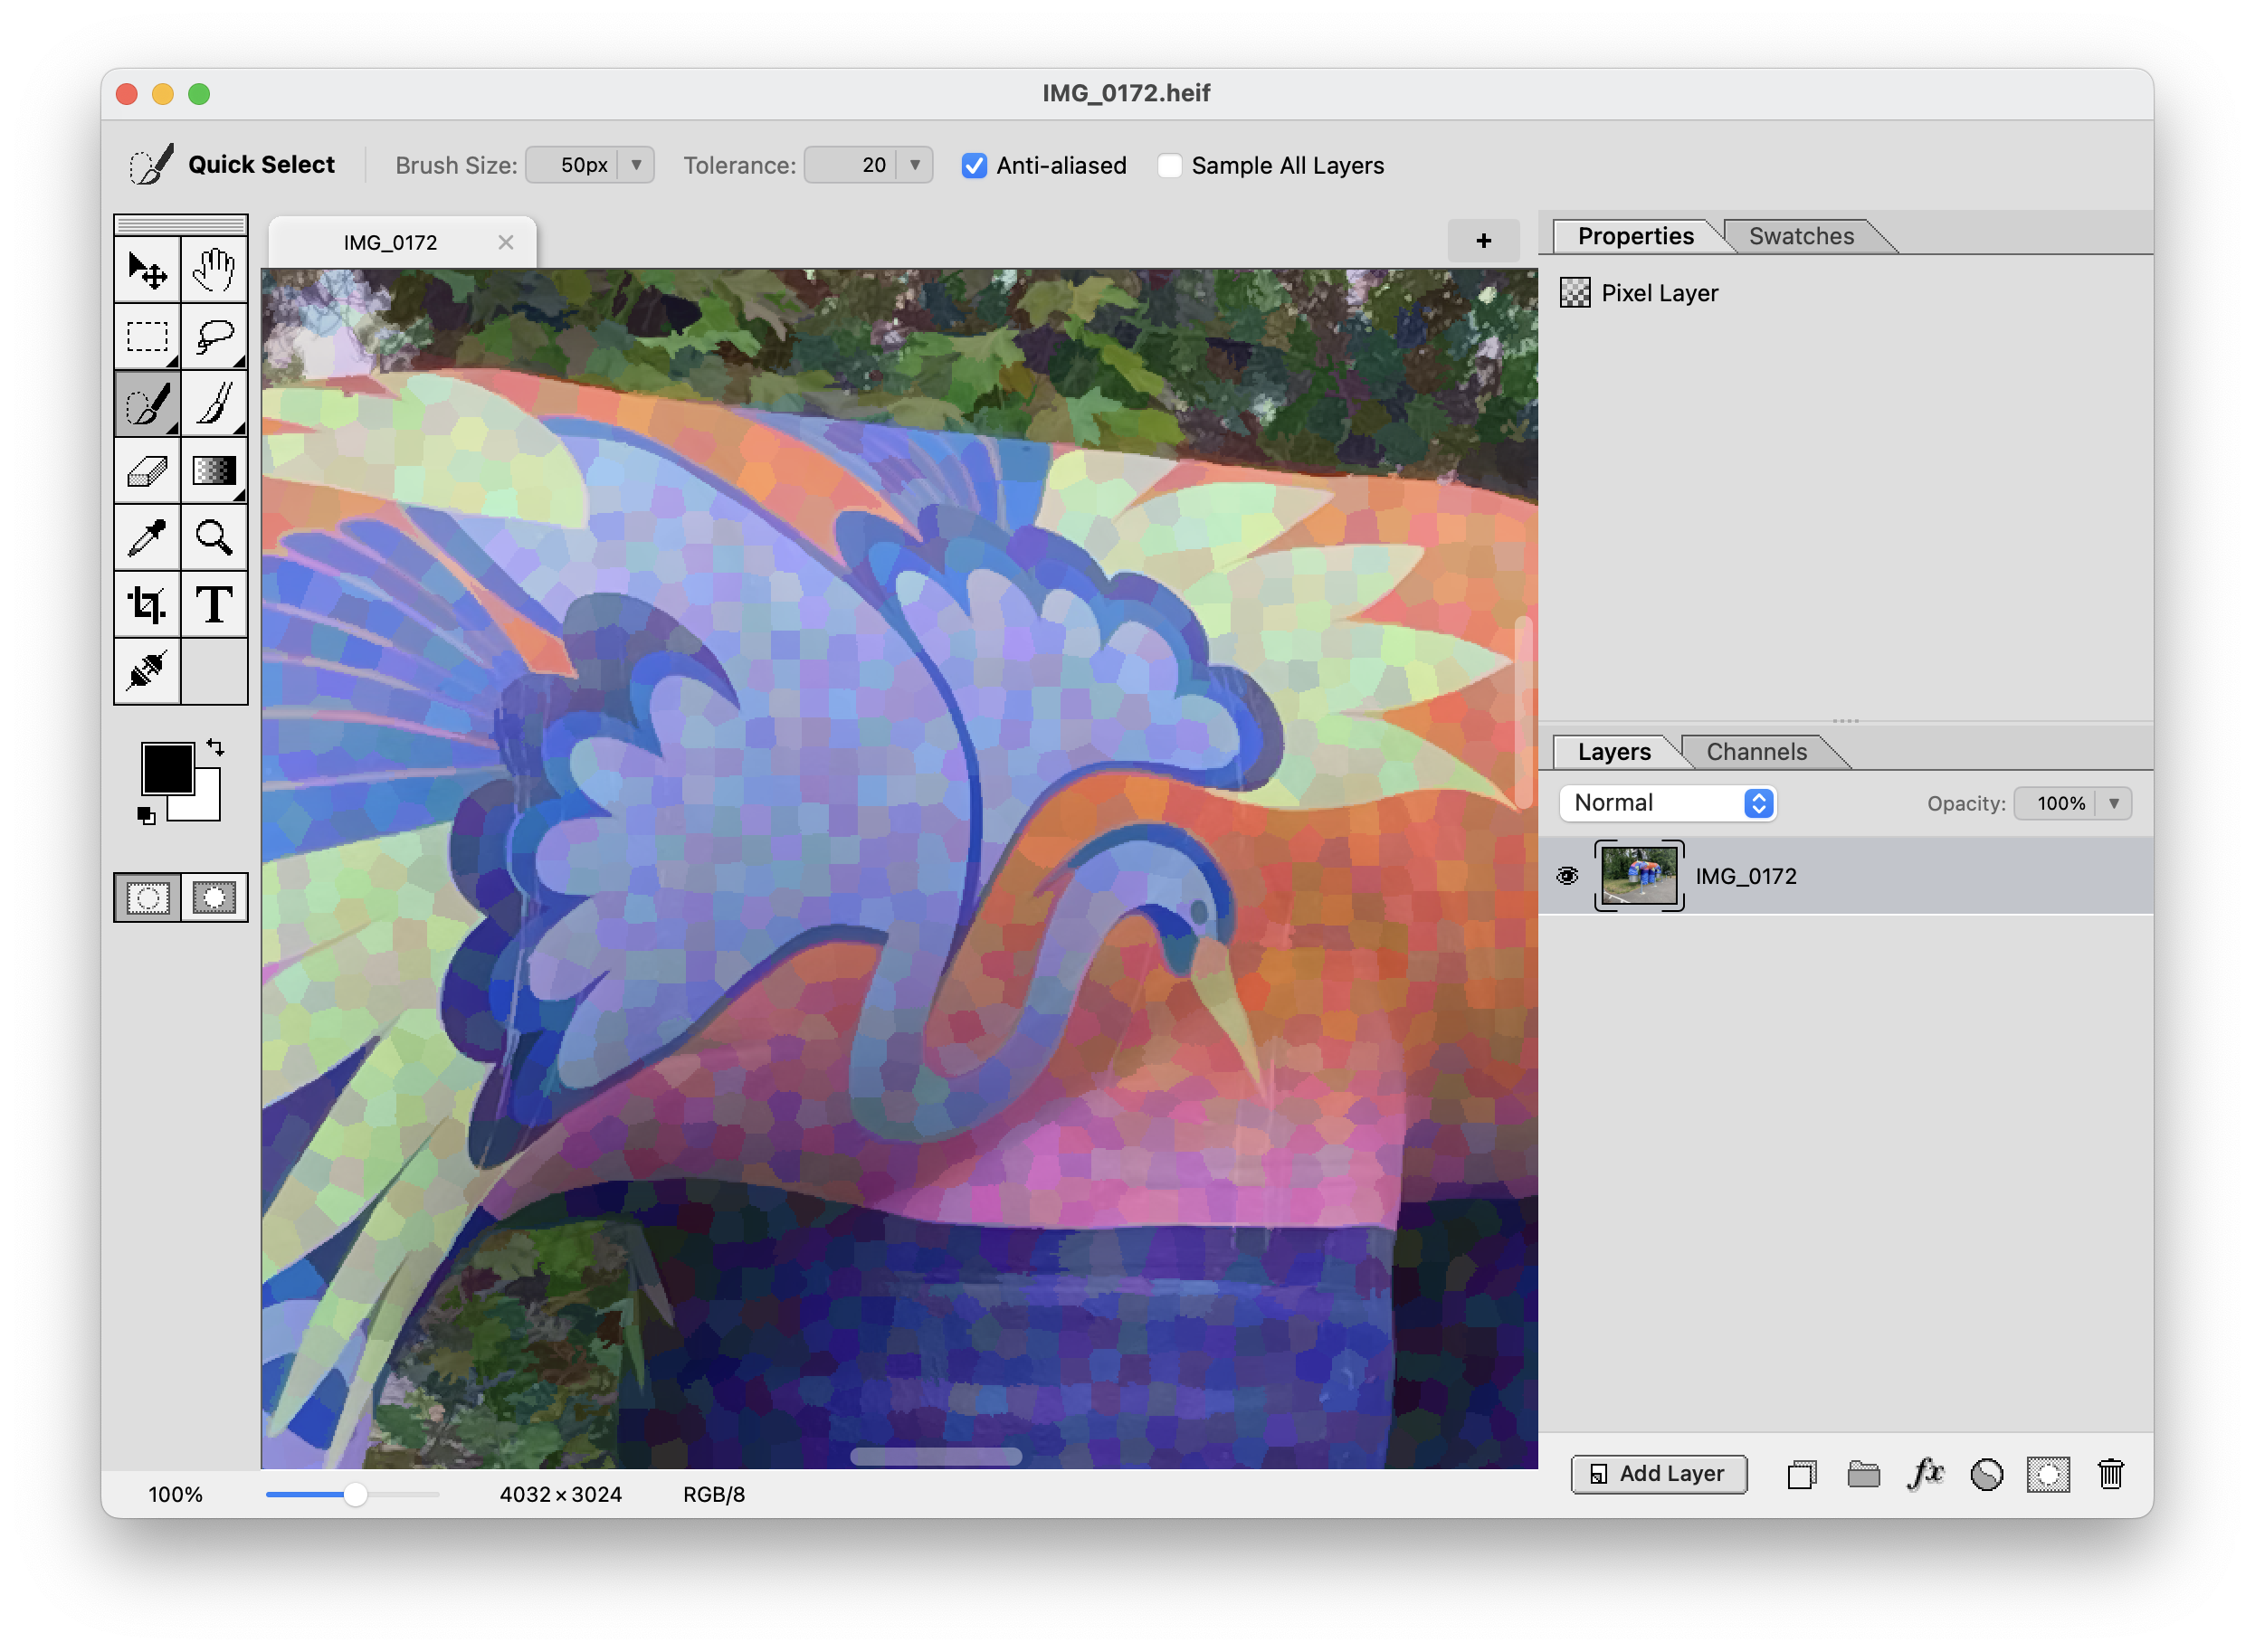
Now when you paint on the canvas, it marks any intersecting tiles as "in" and makes a selection that snaps to surrounding nearby tiles according to the tolerance value you choose.
End result: Easy masking just by dragging over the foreground object you want to select. (Side note: You can resize the brush just like in the Brush tool, with Control+Option+drag.) If you paint too far, don't worry just hold Option to make negating brush strokes. Watch me mask my friend Jesse in his gold velour track suit:
Photo adjust
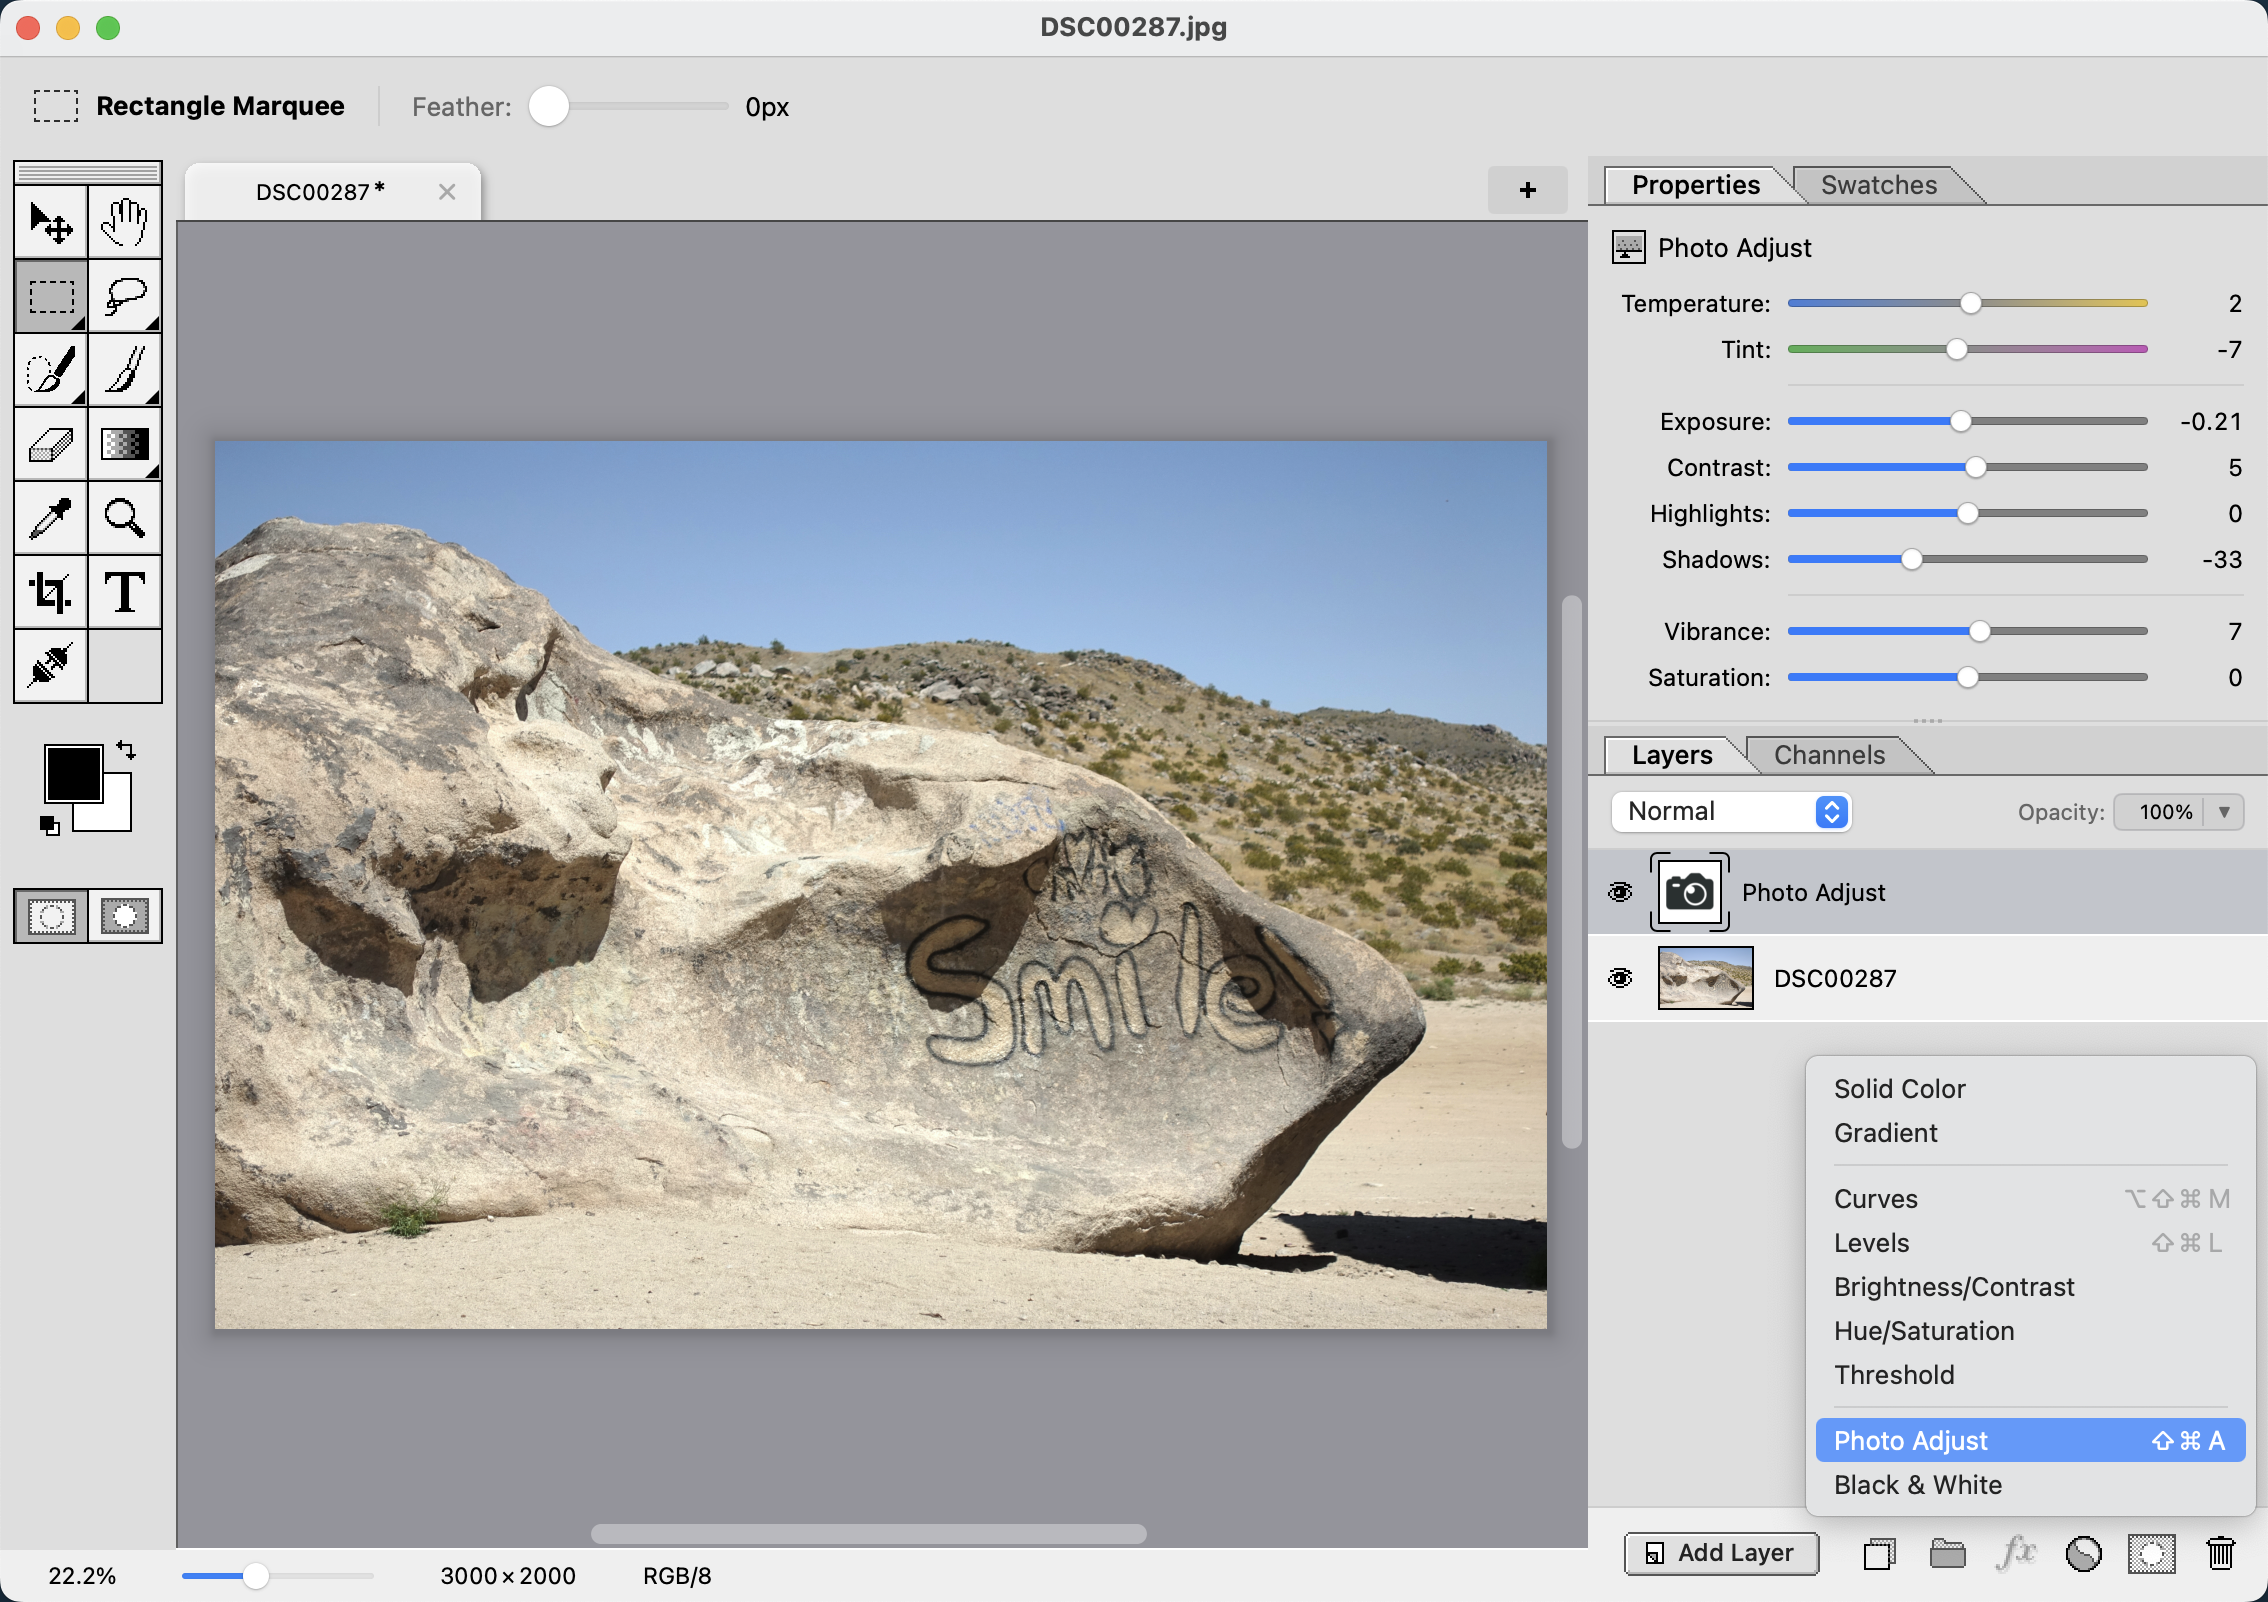
The other headline feature in 1.6 is a new "Photo Adjust" adjustment layer, giving you non-destructive photographic adjustments. Sliders for Exposure, Color Temperature, Shadows/Highlights, Vibrance, and more. This is available in the adjustment layer flyout menu, or directly by keyboard shortcut with Shift+Command+A.
And as usual there's a ton of other improvements you can read all about in the 1.6.0 release notes.