Real Clipping Masks
In a previous post I wrote about how you can clip one layer to another using blend modes. This kind of works for some things but has some major limitations:
- You have to put everything in folders so that the clipping only reaches the desired layer and not the entire composite below
- But then when it's in an isolated folder you can't have things that are supposed to affect the layers below, like adjustment layers
- The layer you clip to is completely subsumed, so none of its pixels keep showing
- It's generally not that intuitive
That solution was an easy first pass but now I'm happy to announce the real deal. True clipping masks.
Select a layer, hit Command+Option+G, and it gets clipped to the layer below. This part is the same as Photoshop — but the similarity ends there. In Photoshop the clipper and clipee are arranged in a weakly-linked sibling relationship. In Mojave Paint the clippee becomes an actual child of the clipping layer. The clipping layer starts acting like a folder, a container for children. In this regard it's pretty similar to how Affinity Photo does it, and this way has a lot of advantages such as if you move or delete the parent the children go with it.
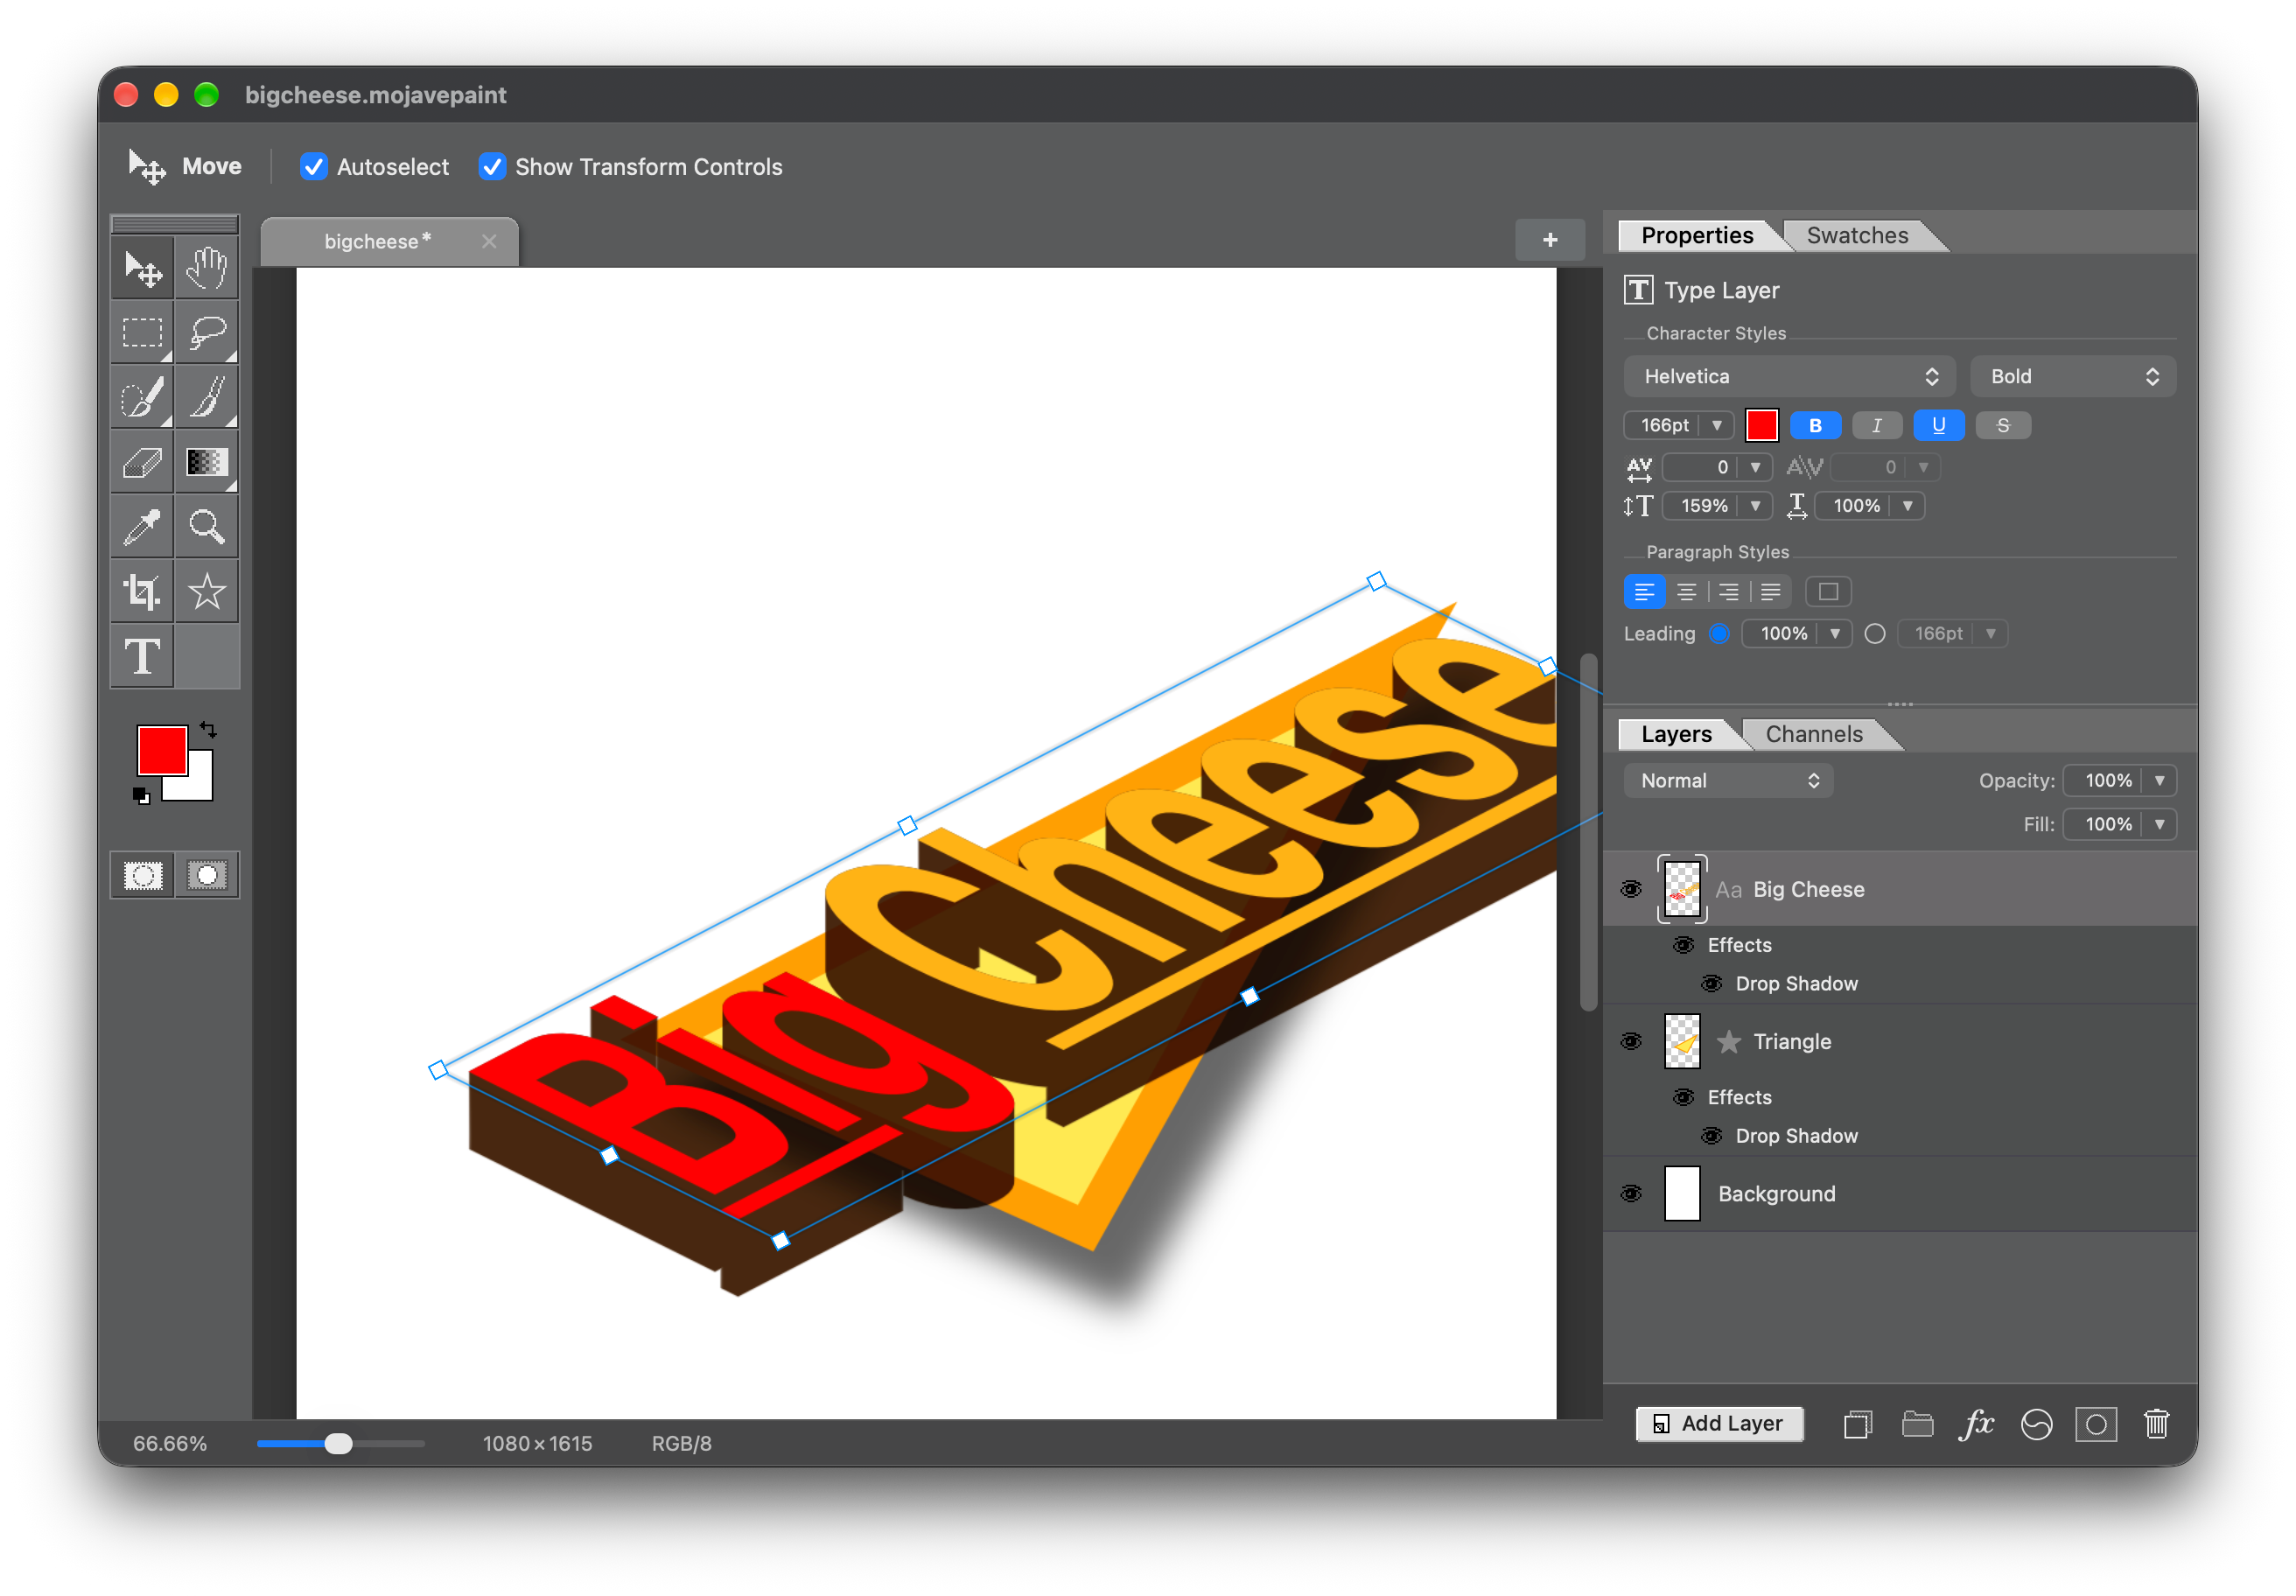
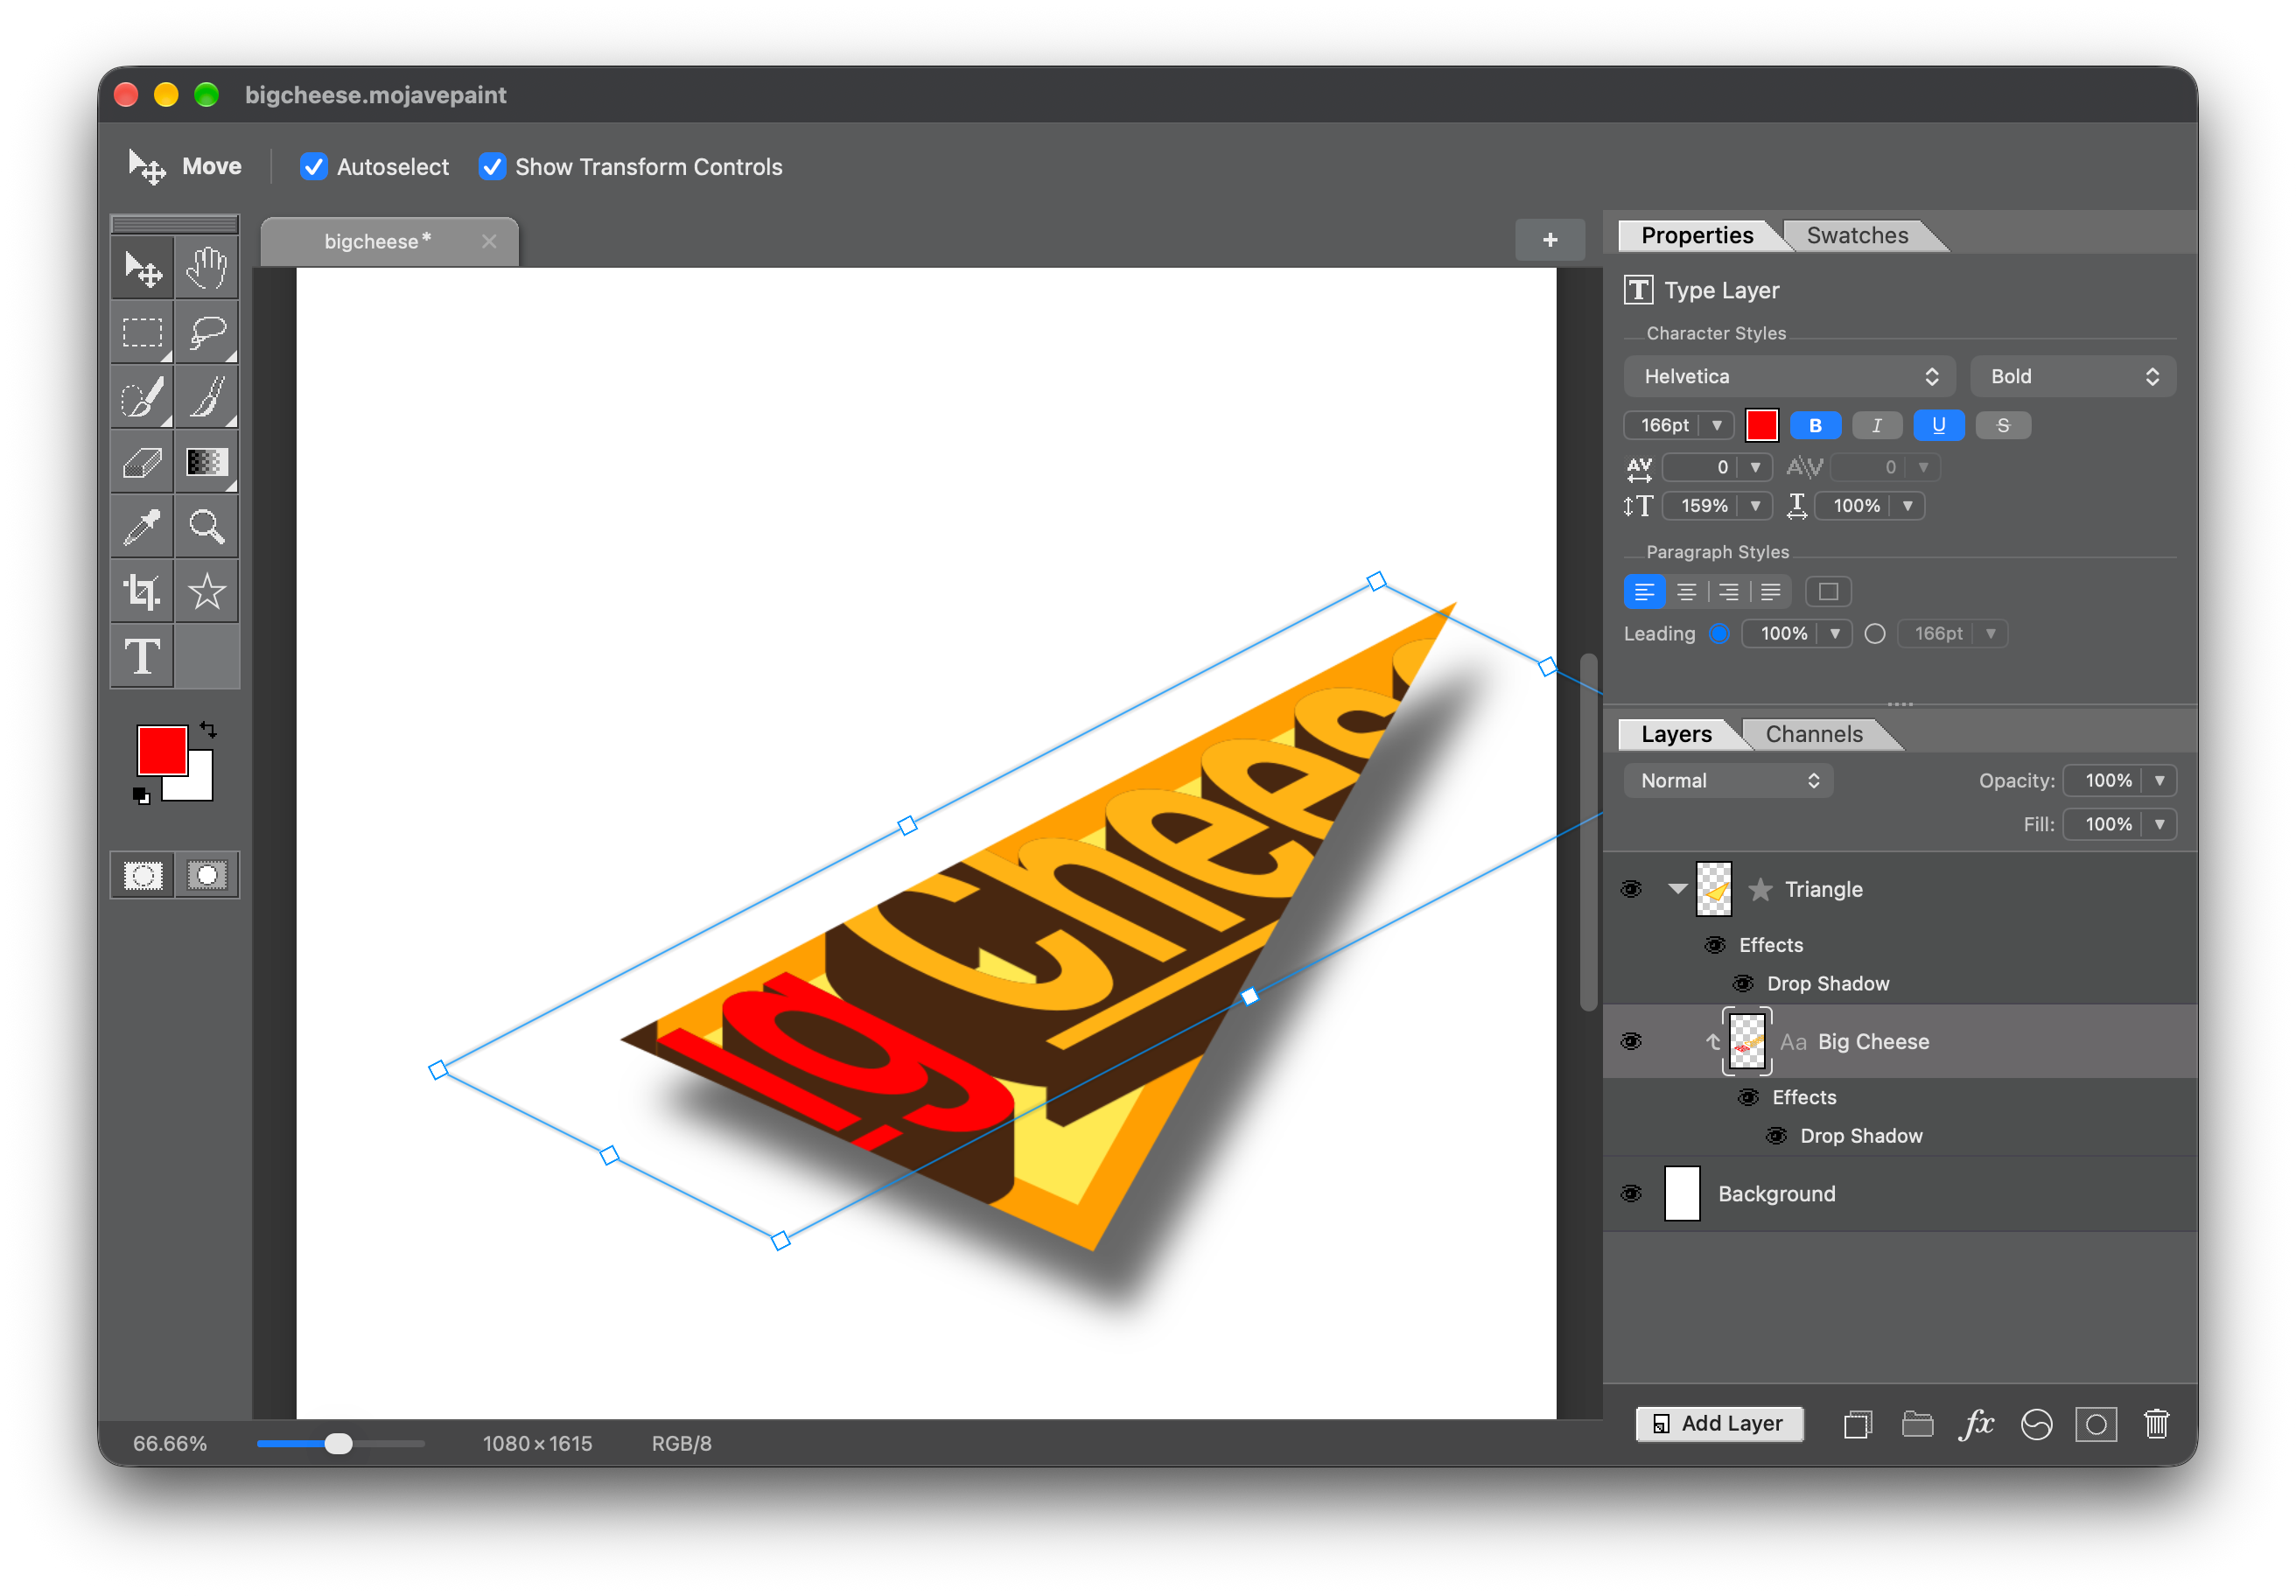
You can also use drag and drop. Drag one layer onto another layer (holding Command, unlike Affinity which requires no modifier) and it becomes a clipped child.
But there's more! Much more.
Say you want to clip an adjustment layer to a vector shape layer, allowing the adjustment to trickle down to the layers below. I'm not sure this is even possible in Photoshop. Yes they have vector layer masks but those are just a static bezier snapshot of a layer, not a true interactive layer. You can do it in Mojave Paint though.
You'd clip your adjustment layer to the shape layer (using any of the various methods summarized at the end of this post), then you'd set the Fill on the shape to 0 so it gets out of its own way, then you set the blend mode on the shape layer to "Pass Through." Bam, adjustment layer clipped to a shape. Change the number of star points, the corner radius, etc, and the mask on the adjustment layer follows. Works for type layers as well.
Photoshop's conceptual model is one of linked adjacent layers (and in fact when the feature launched in 1994 it was called "Group with Previous Layer") while Affinity's is one of parent/child containment. Mojave Paint goes with the containment model, but we can take it even further with an homage to FreeHand and have a "Paste Inside" function. In Mojave Paint you can cut a layer with Cmd+X, select some other layer and do "Paste Inside" via the context menu or with the Shift+Cmd+V keyboard shortcut. This gets away from the need for adjacency altogether, which remains only in vestigial form to support the familiar Cmd+Option+G shortcut.
Then I got to thinking — since we have a "Paste Inside" why not also a "Drag inside?" That might be the coolest part of all of this. Select the Move tool, start dragging something around on the canvas, hold Command and drop it inside something else. The only proper demonstration here has to be the Phantom Zone from Superman.
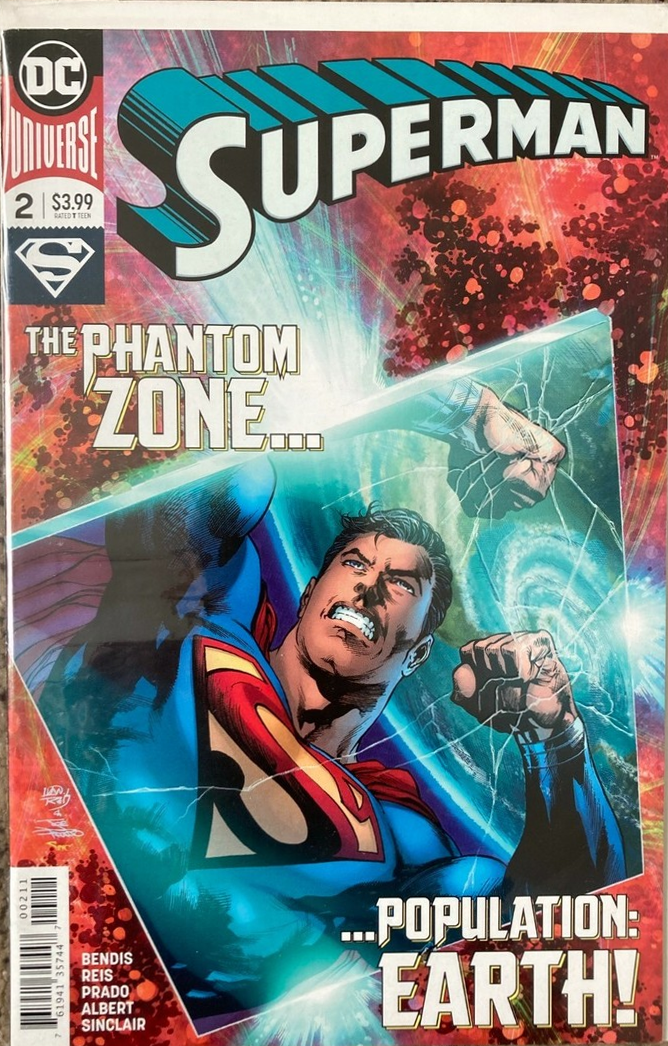
Let's put General Zod, Ursa and Non into their glass prison.
So this clipping mask solution lets you:
- Clip one or more layers and/or folders to a layer
- Clip one or more layers and/or folders to a folder (which clips to the union of all the contents of that folder)
- Clip a layer to a clipped layer (nested clipping)
- Clip a layer while letting its effects pass through to the layers below
And here's all the various ways of creating this clipping relationship:
- Put the layer to be clipped directly above the layer who's outline you want to clip it to, then do the "Clip to Layer Below" command (Option+Command+G)
- Cut the layer you want to clip, select the layer you want to clip it to, and do the "Paste Inside" command (Shift+Command+V)
- Drag the layer you want to clip onto the layer you want to clip it to, hold Command, and drop
- Select the Move tool, select the layer(s) you want to clip (either in the layer outline view or with Autoselect), drag it onto the object you want to clip it to, hold Command, and drop
P.S. That interactive roadmap feedback is quite clear, Dodge and Burn are next up.
P.S. 2 Those Superman supervillains were solid JPEGs where I cut out the background using magic wand and/or Quick Select, but you see a white fringe. Removing that is exactly what the Other > Minimum filter is for, blog post on that forthcoming.